Color can distract. What remains when we remove it is the pure structure of an image — light, shadow, form, and texture. Black and white photography forces us to see differently, and that is precisely what makes it so powerful for urban photography.
Why Black and White Works in the City
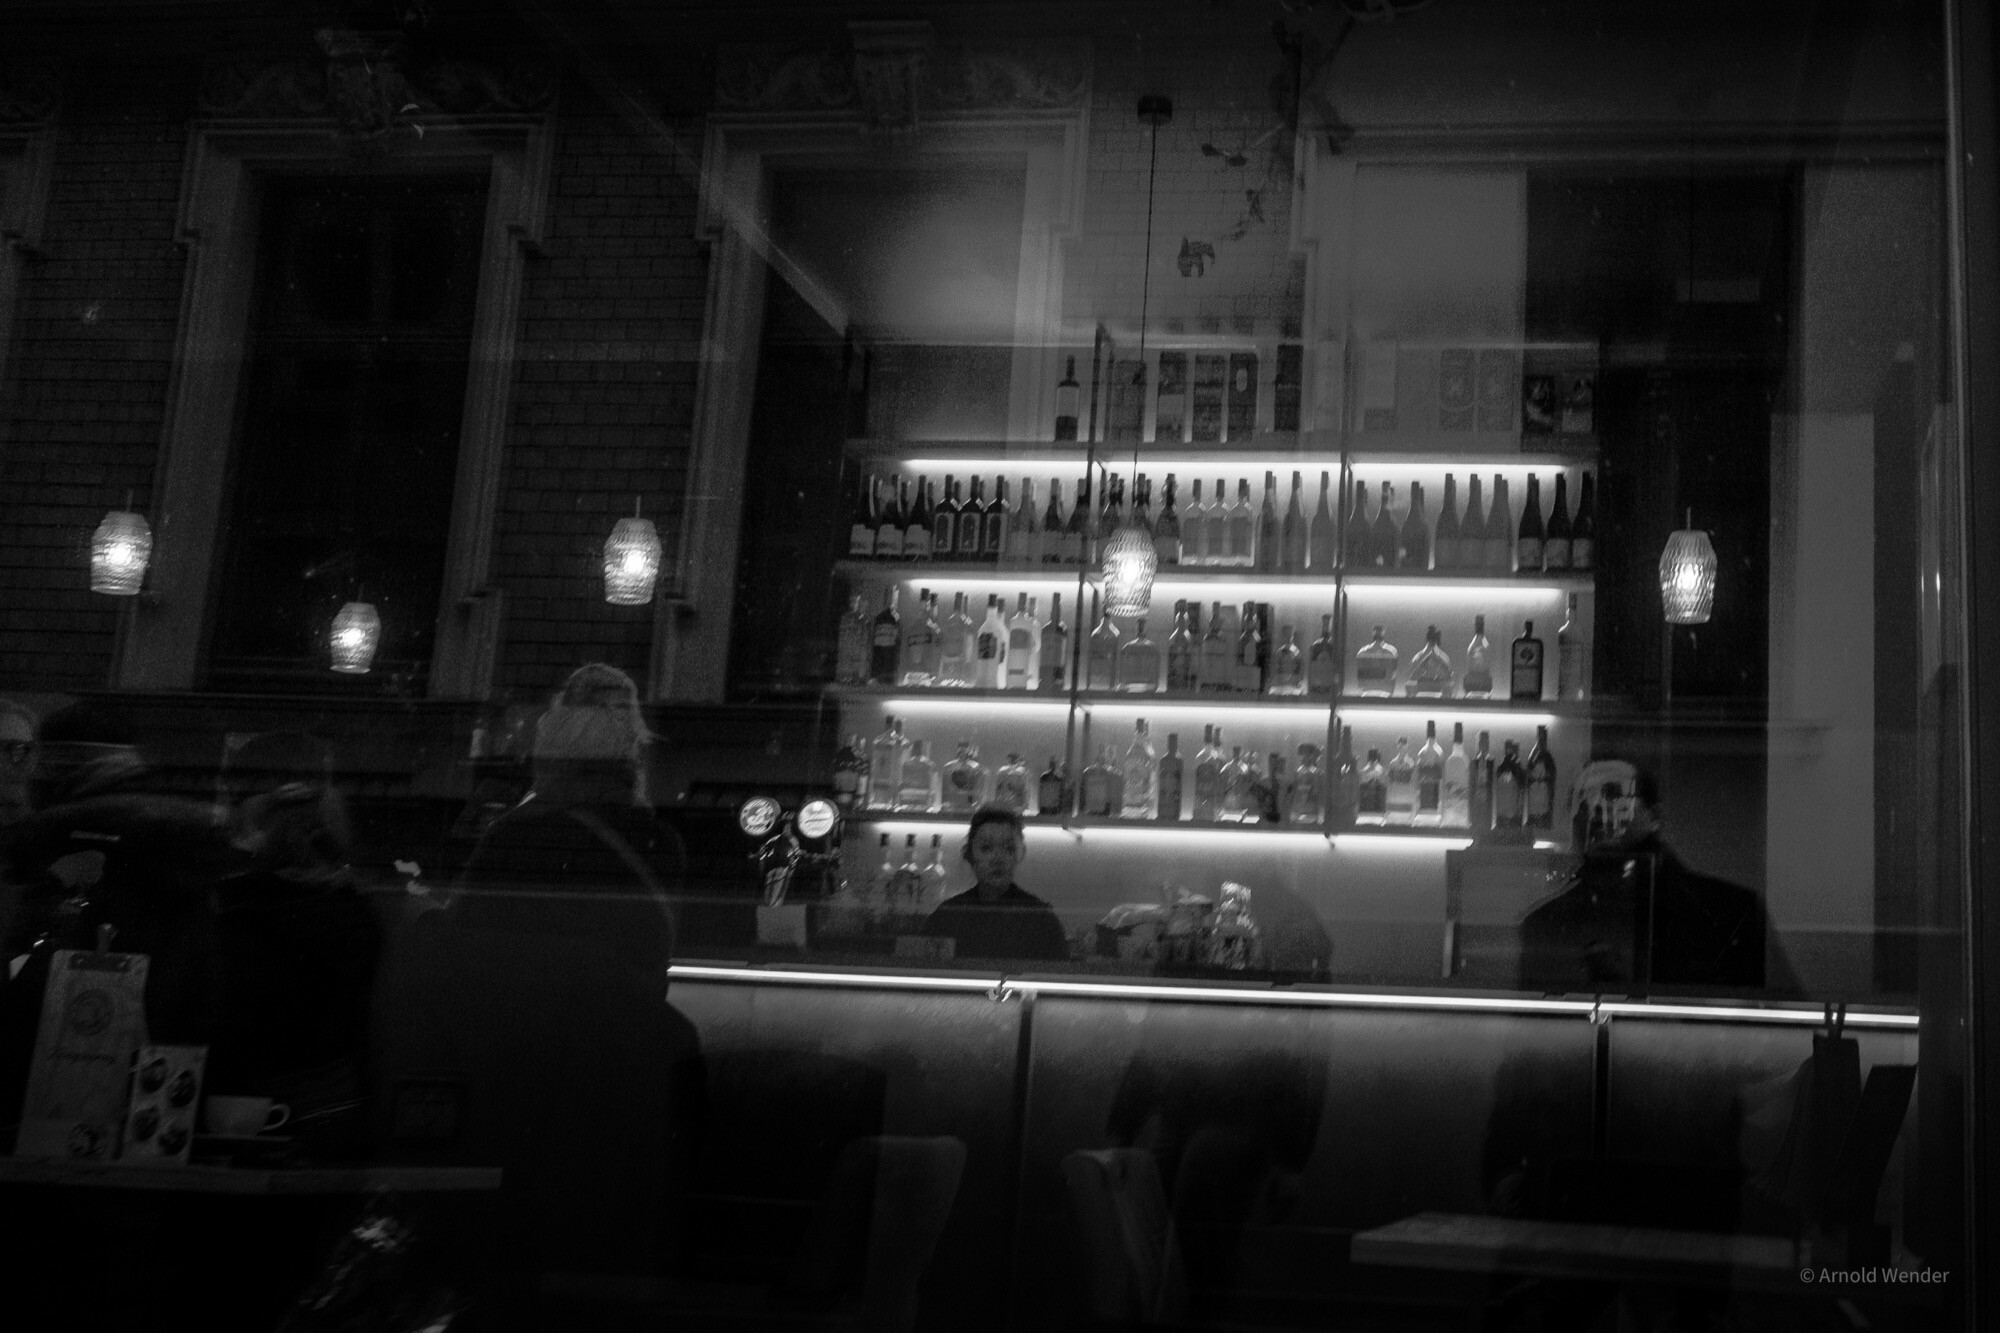
Cities are visually overwhelming places. Advertising signs, facade colors, the clothing of passersby — everything competes for attention. In black and white, these distractions disappear. What remains is the essence: the architecture, the mood, the human figure in urban space.
This approach works particularly well in Halle. The city has a raw, honest aesthetic — weathered facades beside renovated Gründerzeit buildings, industrial structures along the river, narrow alleys with harsh light.
The Right Contrast
Black and white photography thrives on contrast. I distinguish three types:
Tonal Contrast
The classic light-dark contrast. Harsh midday sun creates deep shadows and bright surfaces — ideal for dramatic compositions. I typically expose for the highlights and let the shadows go deliberately dark.
Textural Contrast
Smooth surfaces next to rough textures. In Halle, old brick walls beside modern glass and steel offer wonderful textural contrasts. With the Fujifilm X-T5 and the XF 23mm f/1.4, I capture these details sharply — ISO 200, aperture f/5.6 for optimal sharpness.
Shape Contrast
Round against angular forms, vertical against horizontal lines. The dome of the Marktkirche set against the straight facade lines of the market square is a perfect example.
Camera Settings for Black and White
I always shoot in RAW and convert to black and white in post-processing. The advantage: full control over the tonal values of each individual color channel.
- RAW + JPEG preview in monochrome: Fujifilm cameras offer an excellent monochrome simulation mode. This lets me see the black and white version in the viewfinder while retaining full color information in the RAW file.
- Keep ISO low: ISO 160–400 for the finest tonal gradations. Grain can add character, but I prefer adding it in a controlled manner during post-processing.
- Use spot metering: Precise exposure on the most important area of the image — usually the face in portraits or the brightest facade section in architecture.
Post-Processing — Less Is More
In Lightroom, I work with the Black & White Mix to selectively brighten or darken individual color channels. A blue sky becomes dramatically dark with the Blue slider, while skin tones are brightened via the Orange slider.
My typical workflow:
- Set white balance to neutral
- Convert to black and white
- Adjust tone curve — slight S-curve contrast
- Local adjustments with gradient and radial filters
- Add subtle grain (strength 15–25)
Locations in Halle for Black and White
The best locations for high-contrast black and white images in Halle are the old town alleys around the cathedral, the Saale bridges in backlight, the industrial ruins in the east of the city, and the geometric apartment blocks of Neustadt. Each of these places tells a different story in black and white.